
 Save
Save
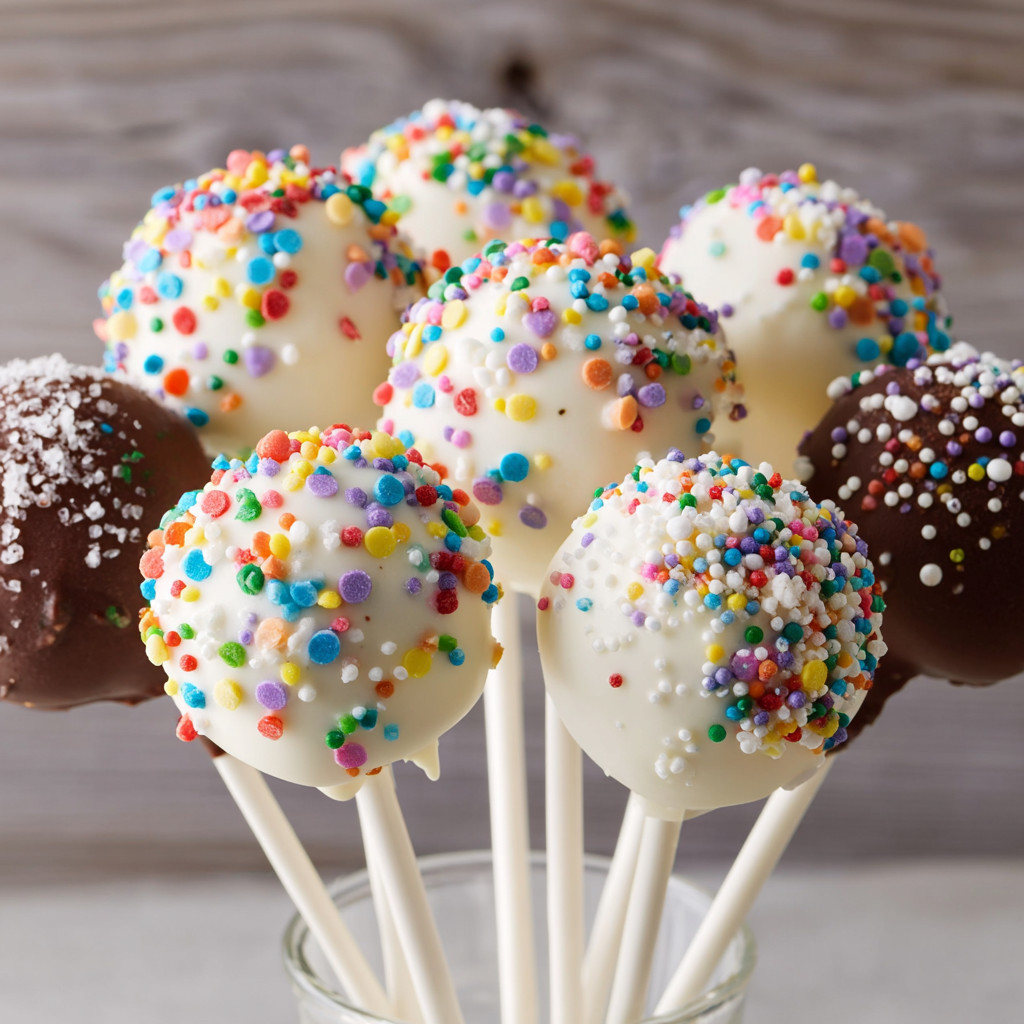
Tiny and adorable treats like cake pops have a way of making any celebration feel extra special. While you might be used to grabbing one as a Starbucks splurge or at parties, making homemade cake pops is absolutely doable in your own kitchen. This recipe will walk you through each step, from baking the cake to adding the decorative finishing touches, so even if you have never tried to make cake pops before, you can master them with confidence. You will end up with irresistible pops that disappear at every birthday and gathering.
My family asks for these at every birthday and graduation and making them together became a sweet little tradition for us. The pride on my kids’ faces when they design their own pop creations is honestly the best part of the whole process.
Ingredients
- Softened butter: for tender cake crumb and creamy frosting look for unsalted and high quality for best flavor
- Granulated sugar: gives the cake classic sweetness always use fresh sugar for the cleanest taste
- Confectioners sugar: creates a silky frosting be sure to sift it if it looks clumpy
- Large eggs: bind the structure together bring them to room temperature so they blend smoothly
- Whole milk: adds moisture and ensures a soft texture always use whole milk for richness
- Pure vanilla extract: brings deep flavor opt for real extract instead of imitation
- All purpose flour: gives body to the cake check the date for freshness as old flour tastes dull
- Baking powder: provides lift and fluffiness make sure it is fresh for proper rising
- Kosher salt: balances the sweetness and heightens flavors
- Heavy cream: softens and enriches the frosting
- White or semisweet chocolate chips for coating: choose your favorite or mix both
- Coconut oil: helps melted chocolate set with shine opt for unrefined for best luster
- Festive sprinkles for decorations
- Lollipop sticks: essential for true cake pops you will need sturdy food grade sticks
Step-by-Step Instructions
- Prepare the Cake Batter:
- Start by greasing a large baking pan very thoroughly. In a big bowl beat softened butter and granulated sugar until the mixture looks pale and fluffy this takes about four minutes and sets the stage for a light cake. Add eggs one at a time making sure each is fully incorporated before the next goes in. Stir in vanilla so the flavor gets into the batter. In a separate bowl whisk the flour baking powder and salt together making sure there are no clumps. Add half of this dry mix to your egg mixture and blend just until you no longer see flour. Pour in the whole milk these wet and dry steps allow the batter to come together smoothly. Add the remaining flour mixture and fold by hand very gently so you do not overwork the batter.
- Bake and Cool the Cake:
- Scrape the batter evenly into your pan. Bake at 350 degrees until a cake tester or toothpick comes out completely clean from the center. This usually takes about twenty to twenty five minutes but can vary so keep an eye on it. Set the cake on a rack and let it cool completely this is vital because warm cake will not crumble properly.
- Make the Frosting:
- In a large mixing bowl whip butter on medium high until creamy and light. Gradually beat in confectioners sugar until it is well combined and not powdery. Pour in heavy cream pure vanilla and a pinch of salt. Beat until the frosting is smooth and spreadable.
- Form the Cake Pops:
- Break the fully cooled cake into pieces and crumble it into the bowl with frosting. Mix everything together so the frosting binds all the crumbs evenly you want the mixture to feel like soft clay. Scoop tablespoonfuls and roll into firm balls using your palms. Place these on a lined baking sheet and chill in the fridge until totally set about an hour this helps them hold shape when dipped.
- Melt the Chocolate Coating:
- In a heatproof bowl combine your choice of chocolate chips with coconut oil. Microwave in short bursts stirring often until completely melted and glossy. The coconut oil makes dipping much smoother and the finish brilliantly shiny.
- Assemble and Decorate the Pops:
- Dip the tip of each lollipop stick into melted chocolate then poke it halfway into each chilled cake ball this anchors each pop. Working one by one dip the cake pops into the chocolate turning to coat evenly. Let the excess drip off. Quickly add sprinkles or decorations while the coating is still wet so they stick. Poke the sticks into a styrofoam block or place on a lined tray to dry completely in the fridge.
 Save
Save
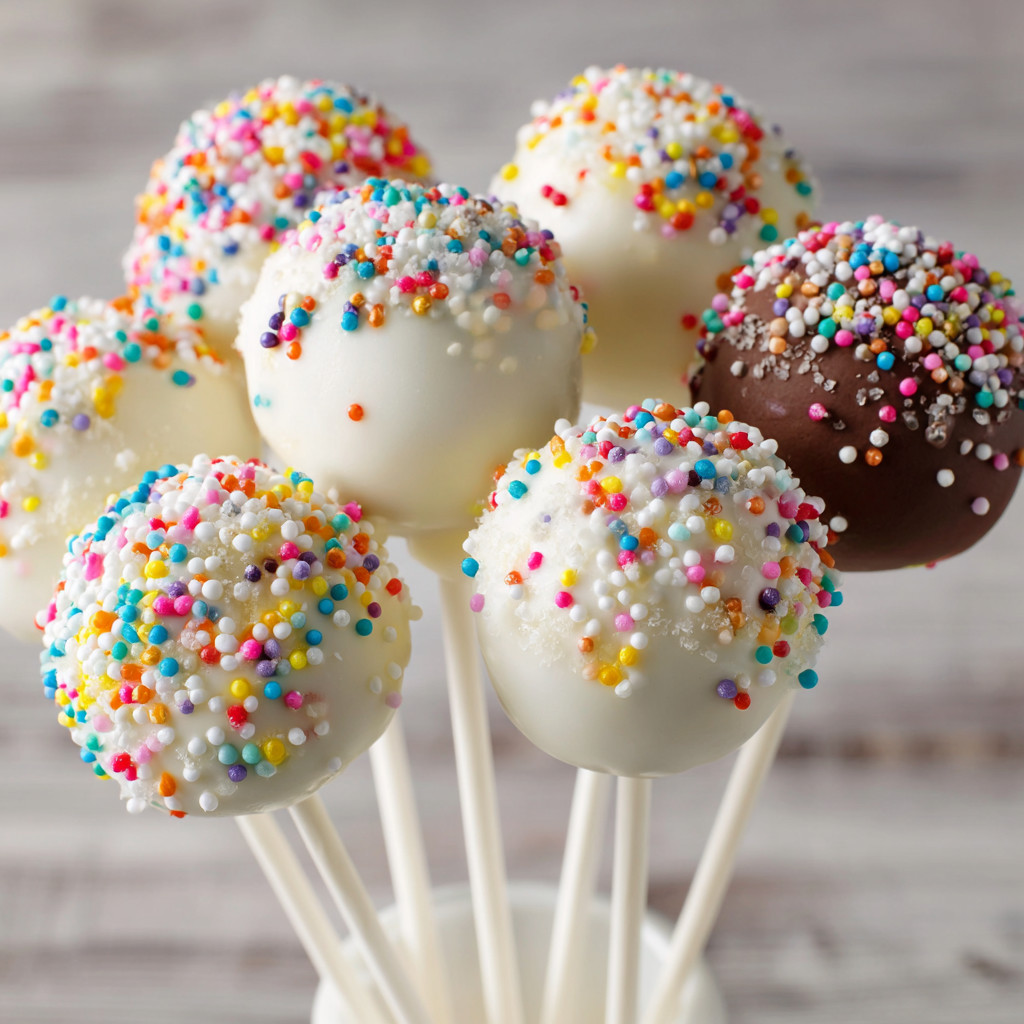
The best part about cake pops for me is customizing each with a different sprinkle or drizzle so every party platter looks a little different. My youngest loves helping roll the balls and chooses all the colors for the decorations making it a true family effort.
Storage Tips
To keep your cake pops fresh for days store them in an airtight container in the refrigerator. They will stay soft and delicious for up to a week. If you need to make them ahead simply freeze undecorated pops then dip and decorate just before your event.
Ingredient Substitutions
You can use box cake mix for a shortcut if you are low on time double check for flavor and freshness. Dairy free butter and milk work as long as you choose varieties meant for baking and if you want a colorful coating you can use candy melts in place of chocolate chips.
Serving Suggestions
Arrange cake pops upright in a cute jar or bouquet for a centerpiece effect at parties. You can wrap them individually in cellophane and tie with ribbon for party favors as well.
 Save
Save
Cultural and Historical Context
Cake pops became incredibly popular over the last decade thanks in part to social media and creative home bakers. They blend the satisfaction of cake with the cheerfulness of a lollipop perfect for both adults and children. Making them at home lets you control flavor and decoration making every batch uniquely yours.
Common Recipe Questions
- → How do I keep cake pops from falling apart?
Chill the shaped cake balls in the refrigerator for at least an hour before dipping. This helps them firm up and hold together during assembly and dipping.
- → What chocolate works best for dipping?
Both white and semisweet chocolate chips melt smoothly, especially with a bit of coconut oil added for shine and easy coating. Choose based on personal taste or use both varieties for a colorful mix.
- → How can I prevent the chocolate coating from smudging?
After dipping, stick the pops upright in a styrofoam block or arrange them on a parchment-lined baking sheet. Cool in the refrigerator until the chocolate fully hardens.
- → Can I make cake pops ahead of time?
Yes, the finished pops keep well for up to a week in an airtight container in the fridge. For optimal texture, make them up to two days in advance before decorating and dipping in chocolate.
- → What cake flavors work well for cake pops?
Vanilla, chocolate, and red velvet all pair beautifully with the frosting and chocolate coating. Feel free to experiment with your preferred cake and diverse icing flavors for creative twists.