
 Save
Save
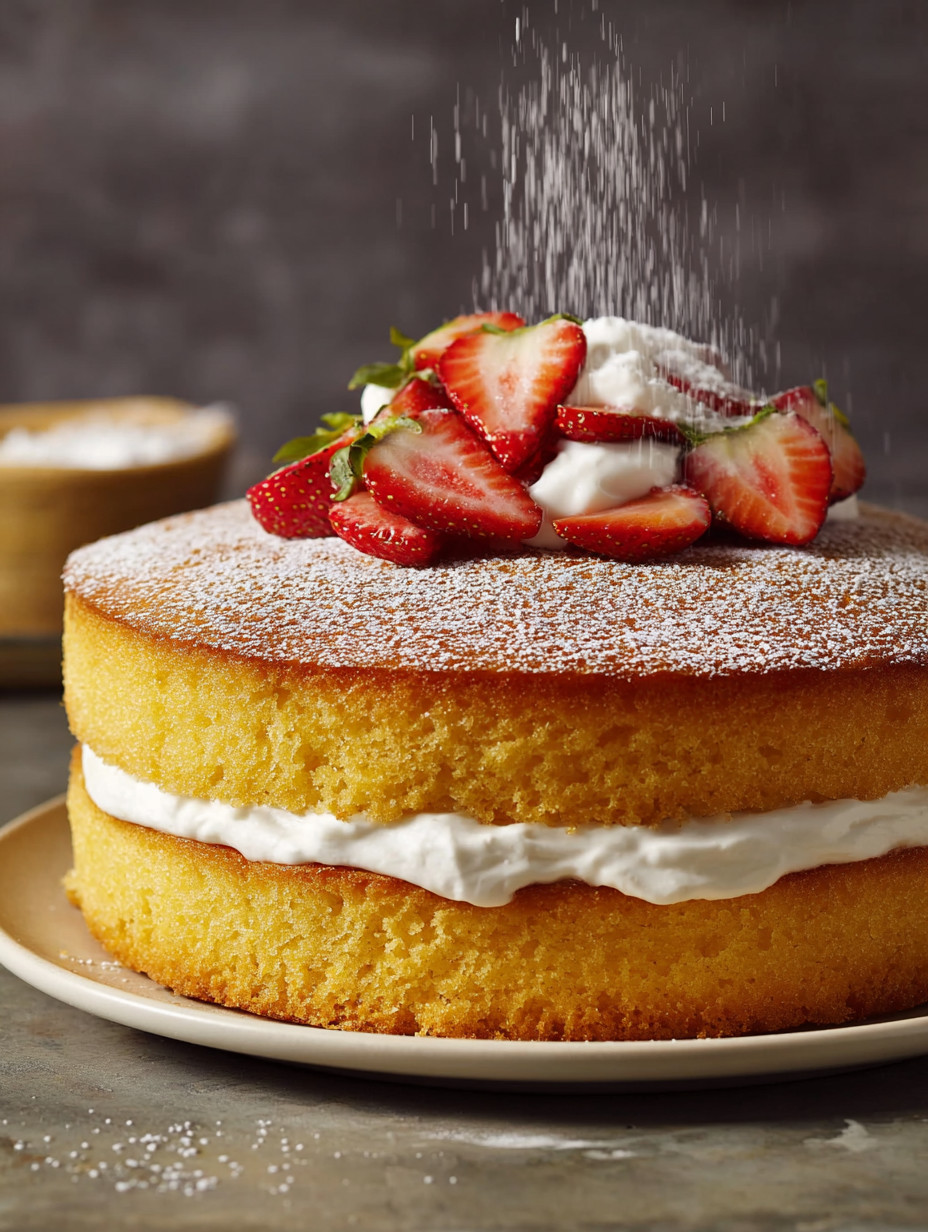
This easy sponge cake is my go to recipe for birthdays potlucks and any occasion when I want a cake that is both simple and foolproof The texture is soft and light and it makes a perfect canvas for all sorts of delicious fillings and toppings If you keep a few basics on hand you are always ready to whip this up
The first time I baked this was for a last minute birthday party I was amazed at how easily it came together and it has been a family favorite ever since
Ingredients
- Unsalted butter: must be softened for easy creaming Choose high quality for a rich flavor
- Granulated sugar: helps with lightness and browning Use fresh sugar no clumps
- Large eggs: should be at room temperature for the best volume Fresh eggs work best
- Pure vanilla extract: brings warmth and classic sweetness Pick real vanilla for the best taste
- Whole milk: gives moisture and tender crumb Whole milk is best for texture
- All purpose flour: gives structure Sift if possible to avoid lumps
- Baking powder: ensures rise and even crumb Always check it is fresh for lift
- Kosher salt: balances the sweetness and enhances flavors Use fine salt for even mixing
Step-by-Step Instructions
- Prepare the Pans:
- Grease two round eight inch cake pans with softened butter making sure to coat the sides and bottoms completely Lay parchment on the bottom for easy removal
- Cream the Butter and Sugar:
- Beat the softened butter with sugar on medium speed for several minutes The mixture should be pale and fluffy This step is key for a light cake
- Add Eggs and Liquids:
- In a separate bowl whisk the eggs just to blend Slowly add to the butter mixture while mixing Pause to scrape down sides if needed Mix in vanilla and milk Add the liquids gradually to keep everything smooth The batter should look like whipped butter
- Combine Dry Ingredients:
- In another bowl whisk together flour baking powder and salt Make sure everything is evenly blended before adding to the wet ingredients
- Incorporate Dry Into Wet:
- Using a spatula gently fold the flour mixture into the beaten butter mixture in three parts Fold just until you do not see any dry flour left Do not overmix or the cake will be dense
- Fill Pans and Smooth:
- Evenly divide the batter into the two prepared pans Smooth the tops with a spatula so the cake bakes evenly
- Bake:
- Place the pans in the center of a preheated three hundred fifty degree oven Bake for thirty to forty minutes The edges should pull away slightly and a toothpick in the center comes out clean Try not to open the oven for the first twenty five minutes or the cakes might collapse
- Cool the Cakes:
- Let the cakes cool in the pans for fifteen minutes Run a knife around the edges Gently invert onto a wire rack Remove parchment paper Flip right side up and let cool completely
- Add Your Favorite Filling:
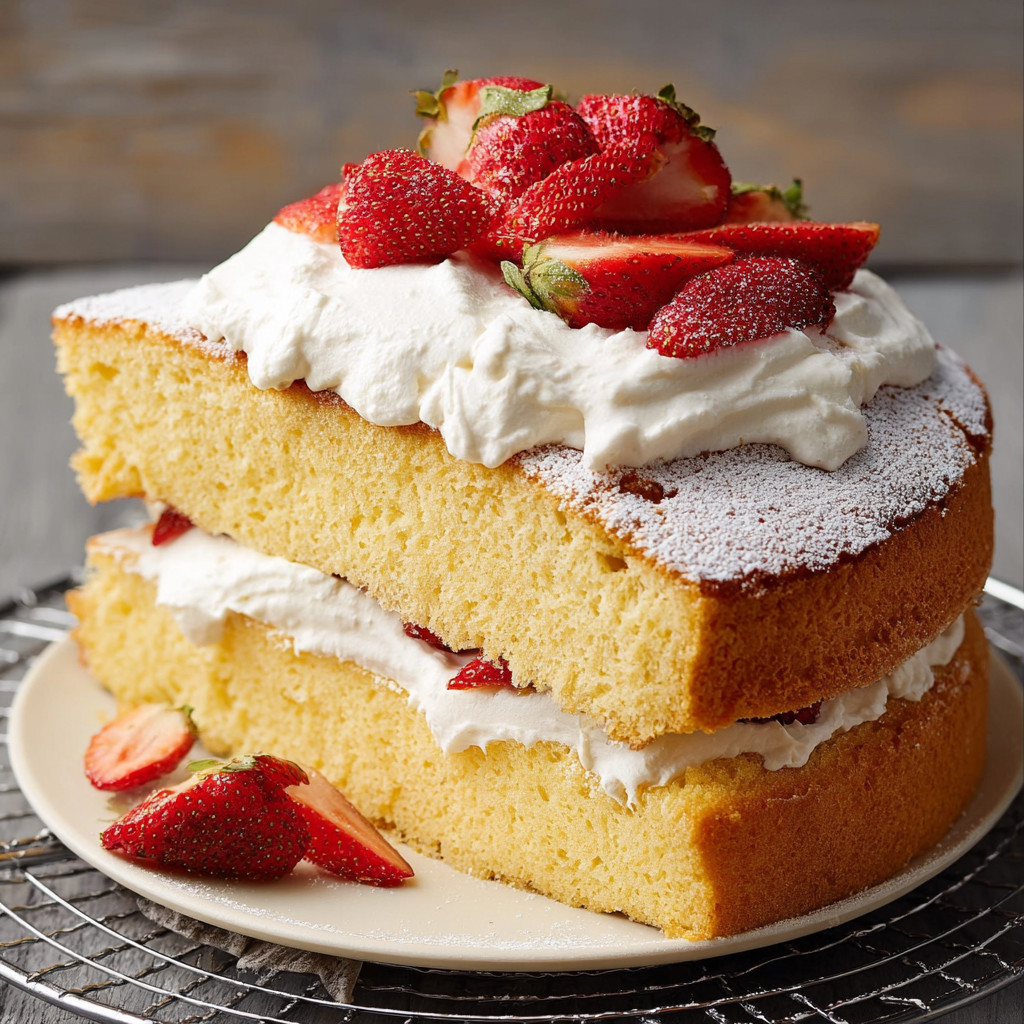
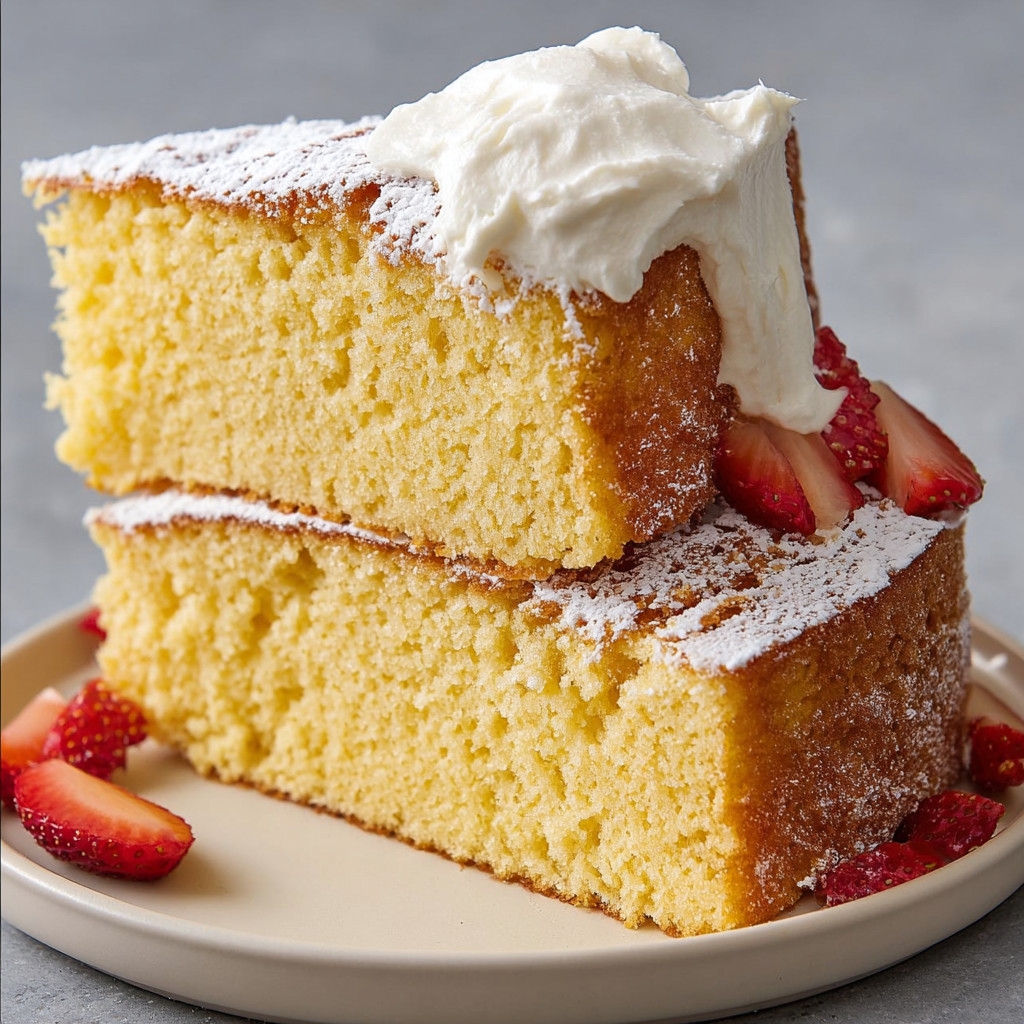
- Once the cake layers are fully cool stack them with whipped cream berries jam or your chosen filling
 Save
Save
I love how the whole kitchen smells when the cakes are cooling My favorite way to serve this is with fresh strawberries and softly whipped cream We make it every spring for my daughter’s birthday and it never lasts long
Storage Tips
This cake is at its best the day you assemble and serve but you can wrap unused layers tightly in plastic and refrigerate for up to five days The texture stays moist if you brush with simple syrup before filling and finishing If you want to freeze wrap the layers well and freeze for up to one month
Ingredient Substitutions
If you are out of whole milk you can use two percent or even add a splash of cream for richness For a dairy free cake try using a good quality plant milk and plant based butter Gluten free flour blends work in place of all purpose but always check blending instructions on your chosen brand
 Save
Save
Serving Suggestions
Once you master the base cake you can fill it with anything you like Try lemon curd fresh fruit jam whipped chocolate ganache or a swirl of sweetened cream You can also crumble the cake into trifles or cube and layer it into parfaits One of our favorite quick desserts is a slice of sponge cake topped with ice cream and berries
Cultural and Historical Context
The classic sponge cake has roots in European baking especially in the United Kingdom where Victoria sponge has been a staple for generations Its crumb is prized for being light but sturdy enough to hold fillings Over time the method traveled and adapted becoming a home bakery favorite around the world
Common Recipe Questions
- → How do I keep sponge cake moist?
For lasting moisture, drizzle with simple syrup after baking. Flavor the syrup with vanilla, citrus, or herbs to enhance taste.
- → Can I make this into cupcakes?
Yes, divide batter among cupcake liners. Bake at 350°F for 18–22 minutes for about two dozen soft, fluffy cupcakes.
- → Can I use this for layered cakes?
Absolutely! The batter makes two 8-inch rounds, perfect for stacking with your favorite cream, jam, or frosting.
- → Can the flavor be varied?
Add citrus zest, extracts, or even spices to diversify your cake. Experiment with fruit jams or chocolate between layers.
- → How should the cake be stored?
Unfilled layers keep up to five days, tightly wrapped in the fridge. For best results, fill and frost the day of serving.