
 Save
Save
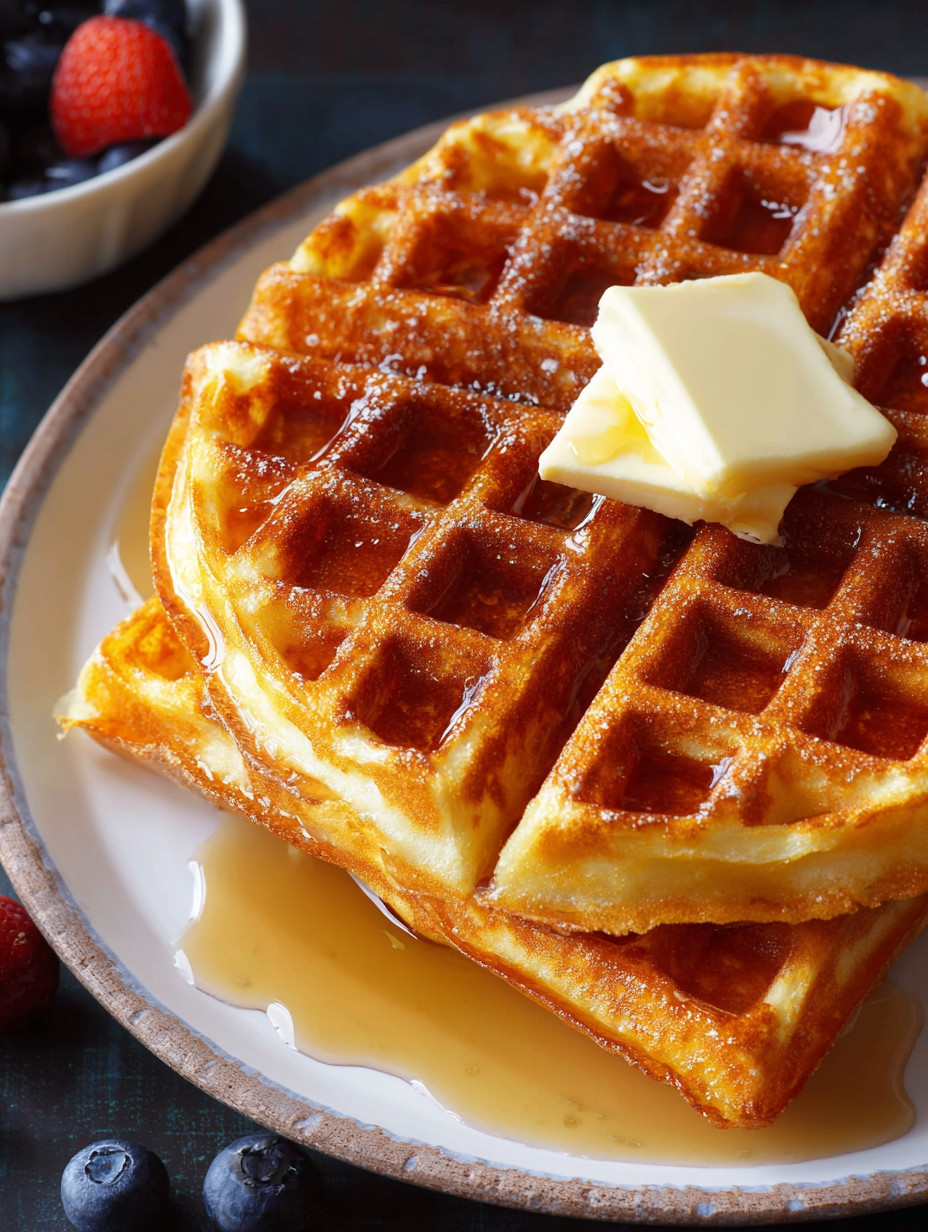
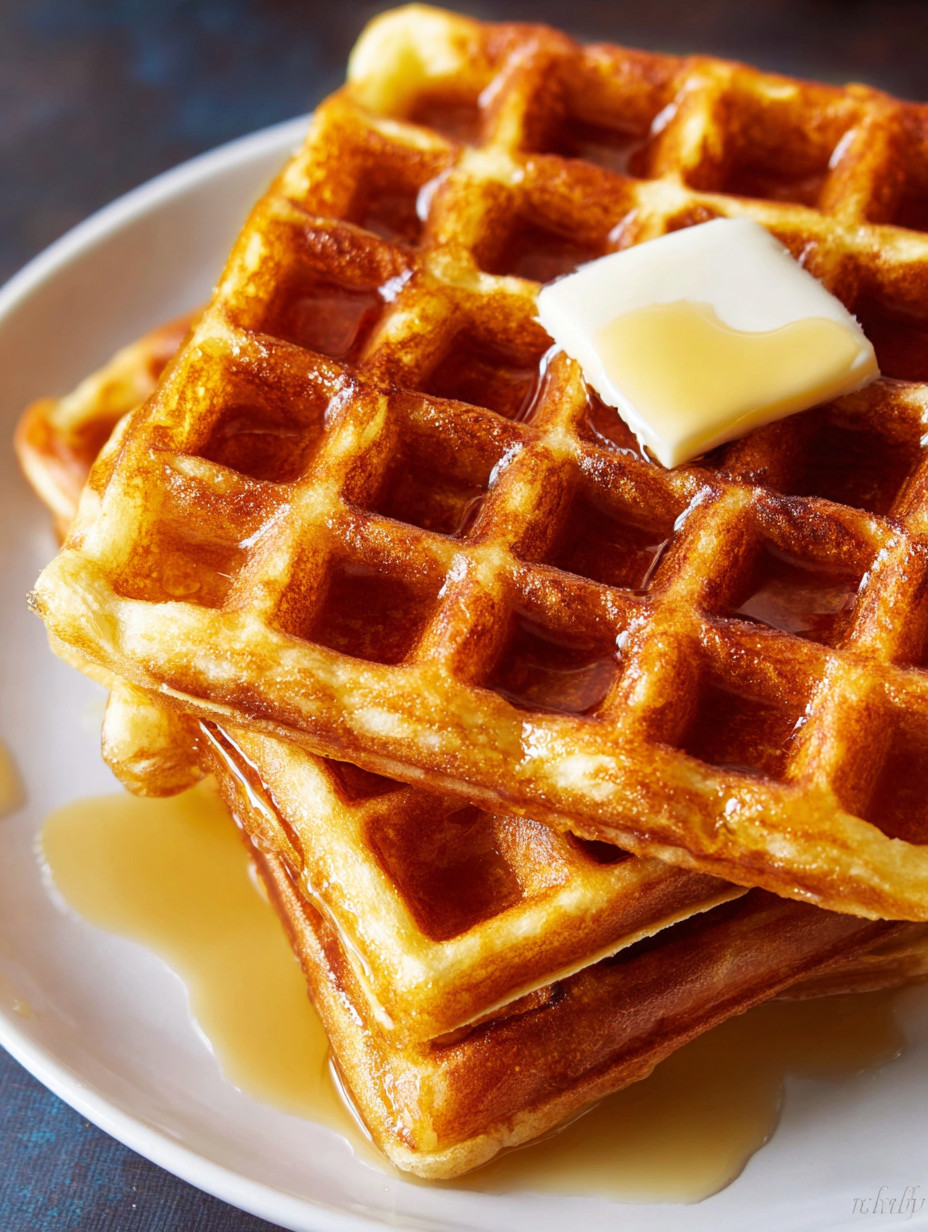
Waffles are my favorite way to start a slow weekend morning. With this recipe, you end up with crispy edges and a fluffy inside every single time. These waffles practically demand real maple syrup and plenty of soft butter. I created this easy classic so anyone can whip up a proper brunch treat without any fancy tools or ingredients.
I first made this waffle recipe when I wanted something nostalgic but better than boxed mix. That first bite was a breakfast game changer and now it is our go to for lazy Sundays or when friends need cheering up.
Ingredients
- Egg: provides structure moisture and golden color select large fresh eggs for best texture
- Buttermilk: gives signature tang and tenderness whole cultured buttermilk brings richer flavor
- Canola oil: ensures crispy exteriors and does not weigh the batter down look for neutral refined oil
- Pure vanilla extract: infuses a subtle warmth and fragrance choose real vanilla over imitation when you can
- All purpose flour: creates sturdy yet light waffles spoon and level for accurate measuring
- Granulated sugar: sweetens and helps browning organic cane sugar works beautifully too
- Baking powder: provides a steady rise check freshness for highest lift
- Baking soda: reacts with buttermilk for fluffy interiors ensure no clumps before mixing
- Kosher salt: balances all the flavors opt for flaky kosher salt if available
- Cooking spray: makes waffle release simple and keeps the iron clean pick a spray without added flavor
- Pure maple syrup and unsalted butter: bring the perfect finish I always splurge on grade A dark syrup for the deepest flavor
Step-by-Step Instructions
- Mix the Wet Ingredients:
- In a medium bowl whisk the egg buttermilk oil and vanilla until the mixture is smooth and light yellow throughout with no visible streaks of egg left
- Combine the Dry Ingredients:
- In a large bowl thoroughly whisk together the flour granulated sugar baking powder baking soda and salt be sure to break up any lumps in the dry mix for a tender waffle
- Blend Wet and Dry Mixtures:
- Pour the wet ingredients over the dry mixture and gently fold with a spatula or big spoon until just combined with a few pockets of dry flour remaining the batter will look lumpy and that is exactly how it should be
- Rest the Batter:
- Let the mixed batter sit at room temperature for about 15 minutes allowing the gluten to relax and the leaveners to activate this rest gives your waffles better texture
- Preheat and Grease the Waffle Iron:
- During the resting time turn on your waffle iron and wait for it to fully preheat then coat every nook and cranny with a cooking spray to guarantee easy removal
- Cook the Waffles:
- Using a ladle or quarter cup scoop pour enough batter in the center of the hot iron so it spreads evenly close the lid and cook for about five minutes or until deep golden brown do not open early or the waffle will steam and go limp
- Serve and Enjoy:
- Lift the waffle out with a fork or tongs place on a warmed plate and tent loosely with foil if making more keep waffles crisp while you finish the batch serve with plenty of maple syrup and pats of butter
 Save
Save
My favorite part of this recipe is the aroma that fills the kitchen as the waffles cook. The first time my kids helped me, their excitement over pouring syrup on their own stack is a memory I will always cherish. Watching everyone gather for that first crispy bite makes every step worth it.
Storage Tips
Fresh waffles can be cooled completely then packed in layers with parchment between and frozen in an airtight bag. To reheat, let them thaw for a minute, then pop in a toaster or oven at 350 degrees until hot and crisp. Leftovers hold well in the fridge for two days and taste almost as good as fresh when toasted.
Ingredient Substitutions
No buttermilk Do not worry just add one tablespoon of lemon juice or vinegar to whole milk and let it sit five minutes for a quick substitute. Swap canola oil with melted coconut oil for a faint tropical note. For gluten free needs, a one to one gluten free all purpose flour blend can be used.
Serving Suggestions
My favorite way to serve these is classic with warm maple syrup and butter, but they are fun with a dollop of whipped cream and fresh berries for brunch. For savory variations, top with crispy bacon or a fried egg and a sprinkle of chives. They even make a fun base for fried chicken and honey butter for dinner.
 Save
Save
Cultural or Historical Context
Waffles have roots in medieval Europe when cooks poured batters between hot iron plates. Classic American waffles gained popularity in the nineteenth century as a weekend breakfast staple. Unlike Belgian waffles, which are thicker and airy thanks to yeast and whipped egg whites, these classic waffles are thinner, crisp, and rich enough to satisfy any nostalgic craving.
Common Recipe Questions
- → How do I achieve crispy edges and a fluffy middle?
Use buttermilk, canola oil, and a mix of baking powder and baking soda. Preheat the waffle iron fully and allow the batter to rest for 15 minutes before cooking.
- → Why is it important to not overmix the batter?
Overmixing develops gluten, making waffles tough instead of light and airy. Stir only until just combined for best results.
- → What is the recommended method for measuring flour?
Lightly spoon flour into your measuring cup, then level off the excess. Avoid packing it in to prevent dry, dense waffles.
- → Can I substitute butter for the canola oil?
Oil helps create crispier waffles, while butter makes them softer. For the crispiest edges, stick with oil, but melted butter can be used for extra flavor.
- → What is the difference between classic and Belgian waffles?
Classic waffles use buttermilk and chemical leaveners, producing a denser, crisp treat. Belgian waffles are yeast-leavened and fluffier with deeper wells.
- → Do I need to use cooking spray with a nonstick waffle iron?
Yes, a quick spray ensures easy release and keeps the waffles intact—even on nonstick surfaces.