
 Save
Save
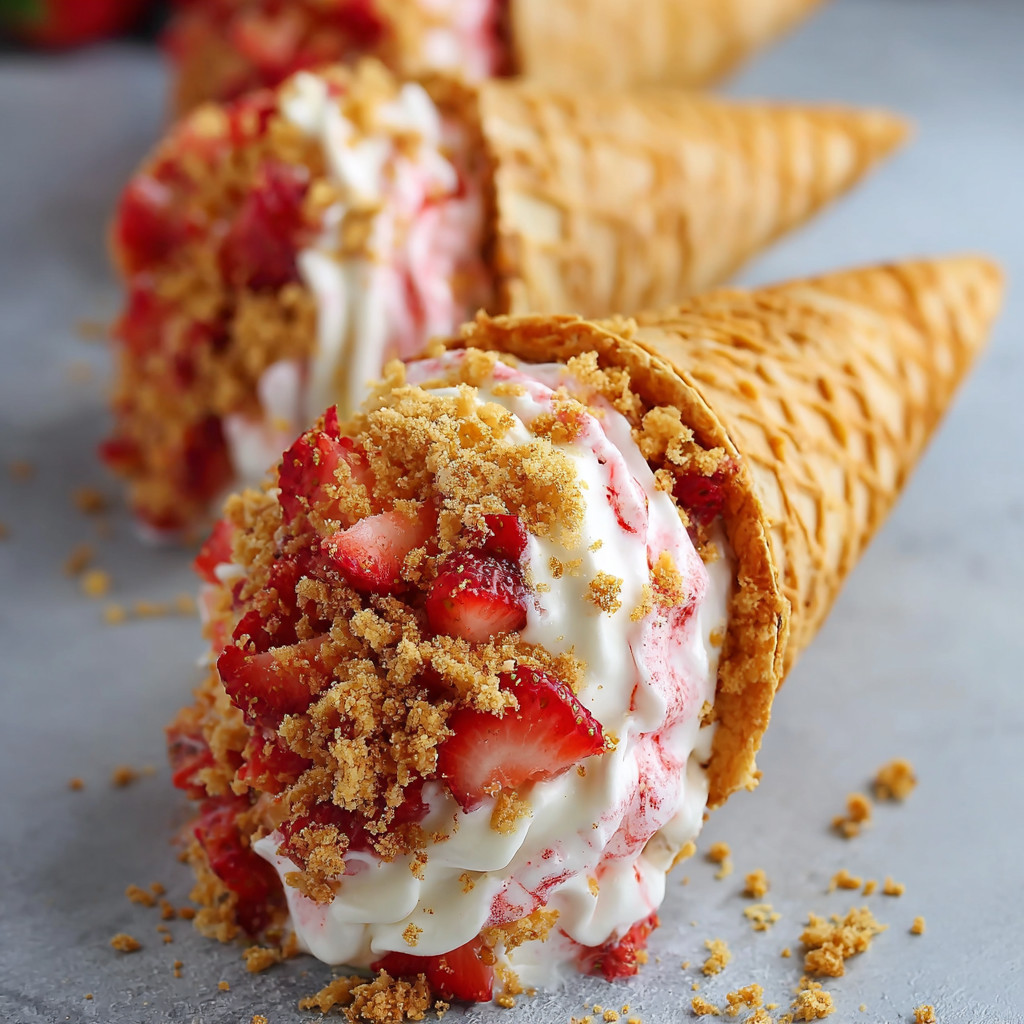
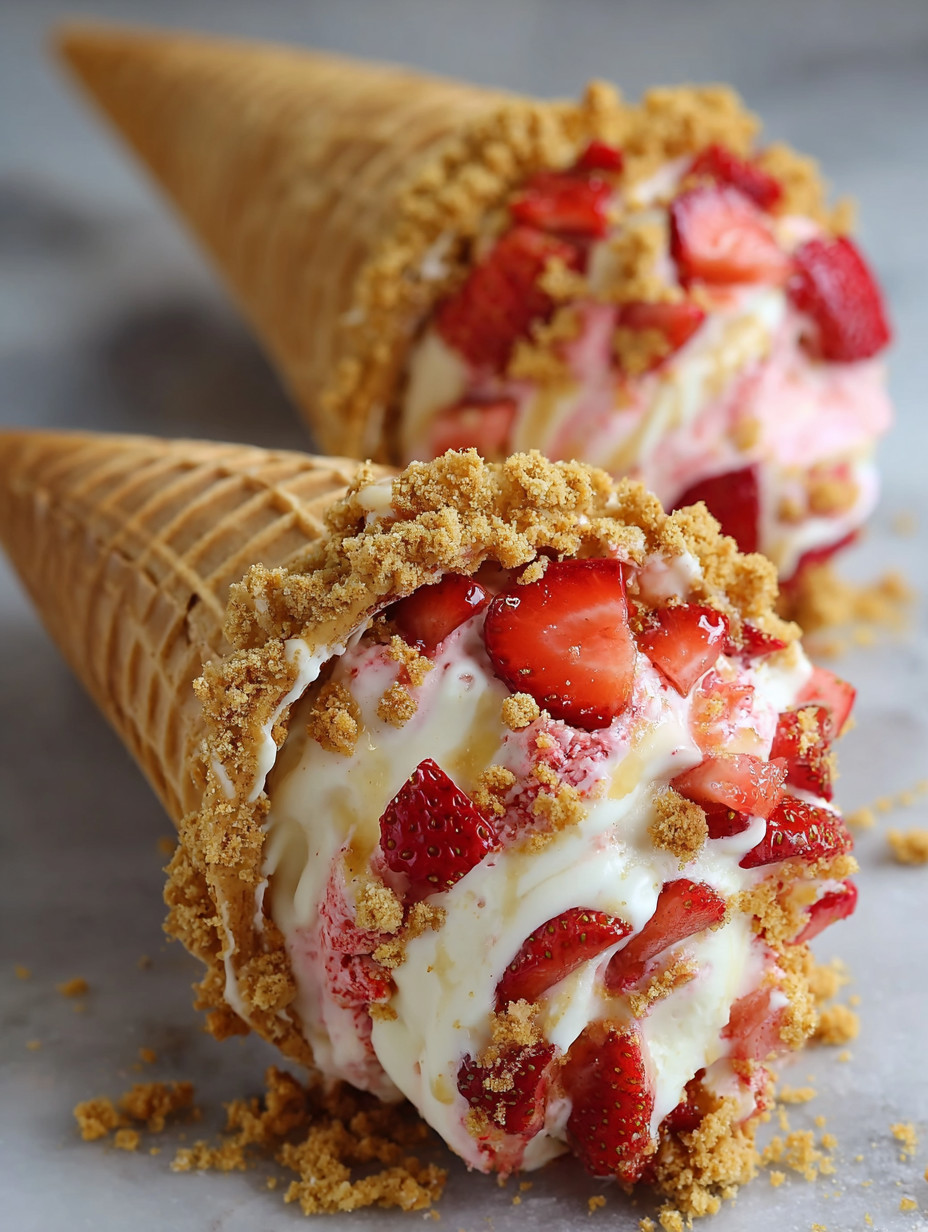
These Strawberry Crunch Cheesecake Cones make dessert feel like a celebration. Creamy cheesecake filling hides inside a crisp waffle cone, fresh strawberries add brightness, and a sweet cookie crunch takes it over the top. I love serving these at summer parties because you can prepare everything ahead and let everyone assemble their own dreamy treat. They always disappear fast and people ask for the recipe every time.
When I first made these cones for my niece’s birthday she was so thrilled she wanted one for each hand. Now it is our special treat for movie nights and backyard parties.
Ingredients
- Waffle cones: give a satisfying crunch plus fun to eat and easy to hold for little hands
- Fresh strawberries: provide juicy bursts and a gorgeous color aim for ripe and sweet ones
- White cake icing: acts as a creamy glue under the cookie crunch go for a tub with real vanilla
- Golden Oreos: bring that signature sweet crunch finely crushed they make every bite more irresistible choose fresh cookies for the best texture
- Melted unsalted butter: binds the cookie crumbs so they toast up golden use real butter for richer flavor
- Strawberry Jello mix: adds color and bold fruity taste
- Room temperature cream cheese: is the lush base for your filling always soften so it blends smooth
- Cool Whip: makes the blend light and airy you want the 8 ounce tub for best results
- Granulated sugar: builds sweetness and smooths the cream cheese
- Pure vanilla extract: for deep bakery warmth use real vanilla when possible for superior flavor
- All-purpose flour: helps set the filling so it holds shape in the cones use unbleached for clean flavor
- Powdered sugar: sweetens the mix to just the right level
- Heavy whipping cream: softens the filling even further use cold cream for best volume
- A little extra pure vanilla extract: for a layered flavor
Step-by-Step Instructions
- Preheat the Oven:
- Start by heating your oven to 350 degrees Fahrenheit so you will get a perfectly toasty cookie topping
- Prepare the Crunch Topping:
- Crush Golden Oreos in a food processor or by hand in a zip top bag till they are fine crumbs. Mix those crumbs with melted butter in a bowl making sure every bit is evenly coated. Spread the mixture on a baking pan lined with parchment paper for even baking and easy cleanup. Bake about ten minutes until golden brown and fragrant allow it to cool completely
- Make the Cheesecake Filling:
- Beat the cream cheese with granulated sugar and vanilla extract until it is very smooth no lumps should remain. Fold in Cool Whip gently with a spatula so you keep all the air and silkiness. Add in strawberry Jello mix flour powdered sugar and heavy whipping cream stir until creamy and uniform
- Assemble the Cones:
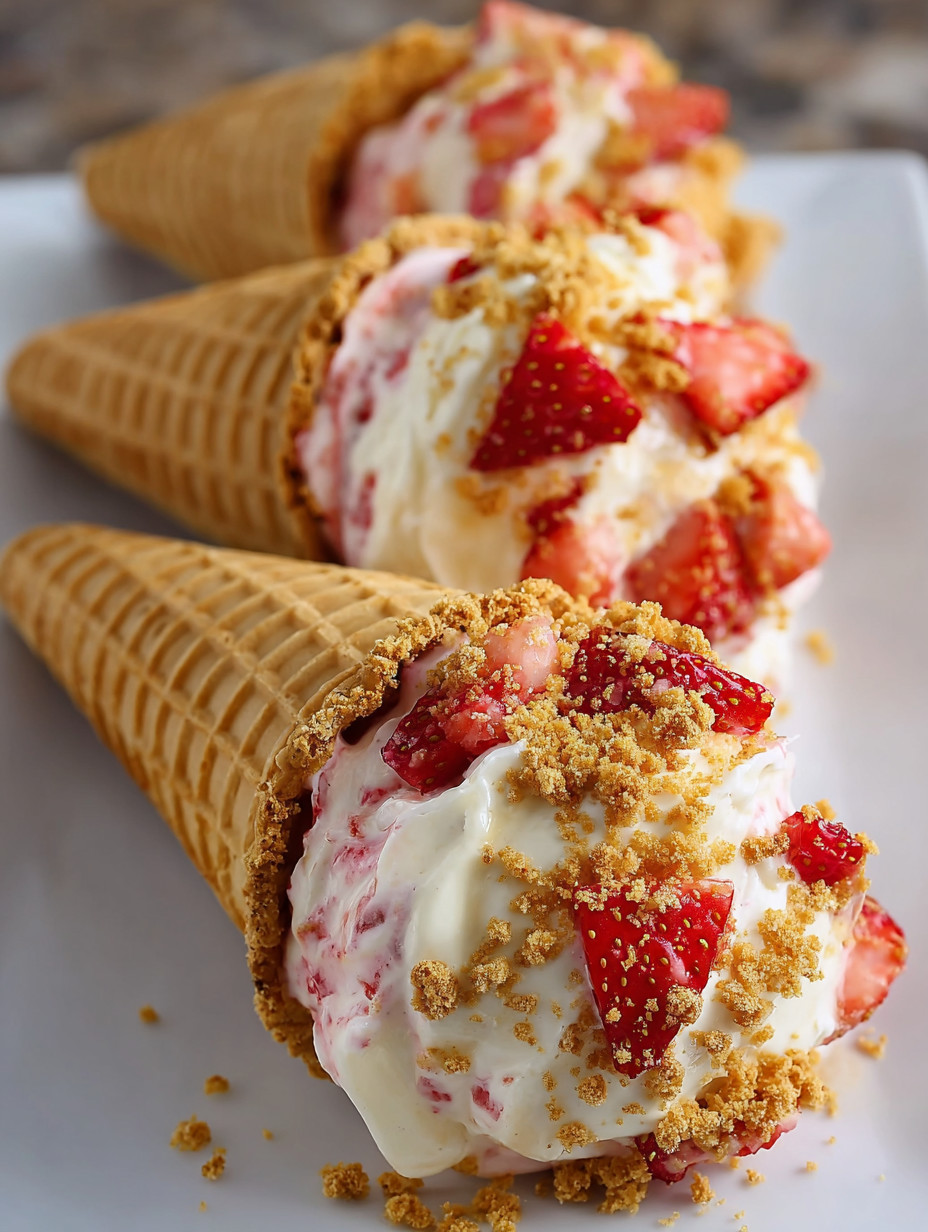
- Carefully fill each waffle cone with your cheesecake mixture packing it in so there are no gaps but being gentle to avoid cracking the cones. Top with generous spoonfuls of chopped fresh strawberries and a fat sprinkle of your cooled cookie topping
- Chill and Serve:
- Place filled cones in the fridge for at least an hour so the filling can set and flavors combine before enjoying
 Save
Save
My favorite part is the buttery Oreo crunch on top it reminds me of summer carnivals and makes every cone feel extra special My family loves to set up a toppings bar and turn assembly into an event every person gets to personalize their cone
Storage Tips
Keep any leftover cones in an airtight container in the refrigerator for up to three days If you prefer to make ahead store the cheesecake filling and topping separately and fill cones just before serving to keep everything crisp You can freeze fully assembled cones wrapped in plastic then sealed in a freezer container for up to one month let them thaw in the fridge before eating
Ingredient Substitutions
Swap in chocolate or regular Oreos for Golden Oreos for a deeper flavor Use flavored gelatins such as raspberry or peach to try new fruity combinations Dairy-free cream cheese and plant-based whipped topping can make these friendly for vegan friends
 Save
Save
Serving Suggestions
Put cones upright in a glass or mini ice cream stand for a pretty display Let each guest top theirs with chopped nuts mini chocolate chips or a drizzle of caramel For parties serve filling in small jars beside broken cone pieces for easy dipping
Cultural and Historical Context
Inspired by classic ice cream truck strawberry crunch bars this treat puts a nostalgic favorite into a new format Waffle cones and chilled cheesecake are both longtime American dessert icons now matched together for the ultimate bliss
Common Recipe Questions
- → How do I keep the cones from getting soggy?
Ensure the cheesecake filling is chilled before adding it to the cones and serve soon after assembling to maintain crunch.
- → Can I use other fruits besides strawberries?
Yes, blueberries, raspberries, or even mixed berries work well and bring a different twist to the dessert.
- → What’s the best way to crush the cookies?
A food processor creates fine, even crumbs, but a resealable bag and rolling pin also work if you prefer more texture.
- → How long should I chill the cones before serving?
Chilling for at least one hour helps the filling set and keeps the cones crisp when served.
- → Can these be made in advance?
The cheesecake filling and cookie crumb can be prepared ahead, but assemble the cones close to serving time for best results.
- → How should I store leftovers?
Keep assembled cones in an airtight container in the refrigerator for up to three days; cones may soften over time.